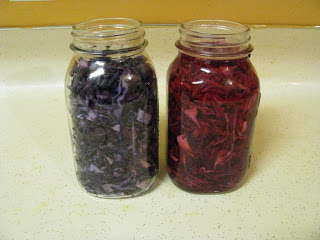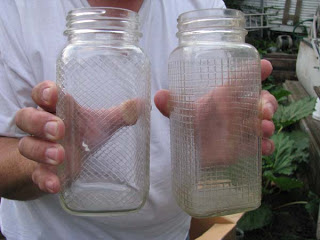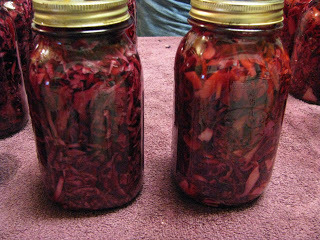
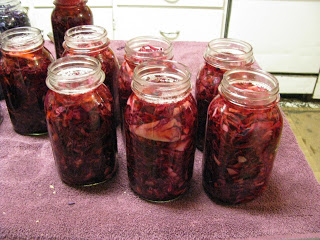
The jar on the left has been processed and has turned a dark red violet color, the jar on the right needs processing still.
Purple cabbage jar on the right has the syrup added and has turned a lovely bright red color.
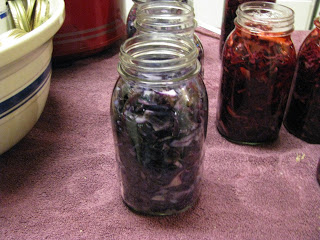
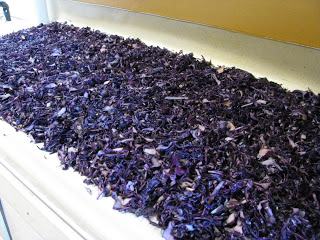
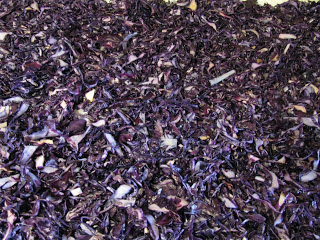
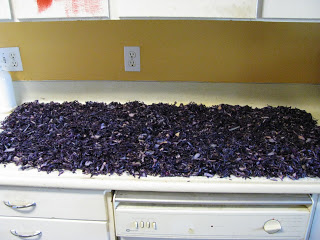
Purple cabbage ready for the syrup.
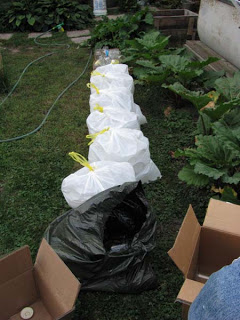
It was supposed to be Spiced Red Cabbage but I decided at the last minute I didn't want all of the spices in my cabbage. Dh wanted them but I think we'll be much happier about my choice later on, cloves tend to make me sick and the recipe called for a quarter cups worth, and we didn't have any mace which means the only spice we would have used was Allspice so what's the point.
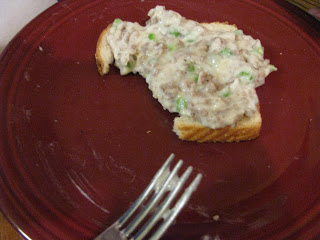
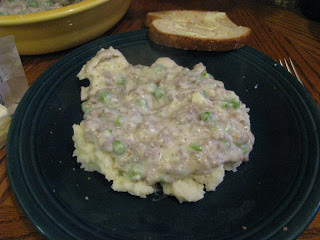 Serve over mashed potatos or slices of bread.
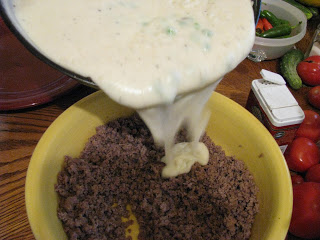 Add to ground beef.
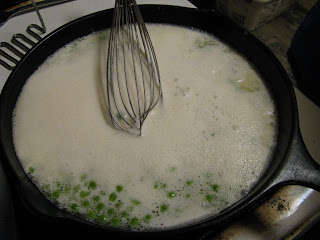 Stir until well blended and thickened.
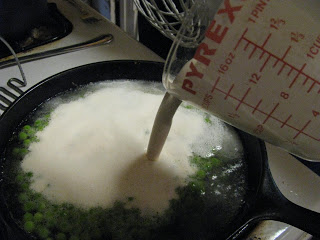 Add gravy mix to boiling water in skillet.
 Mix instant gravy packet with cold water in a measuring cup, mug, small bowl, etc. Heat frozen peas up in remaining water bringing water to a boil.
 Place cooked burger aside in a largish bowl.
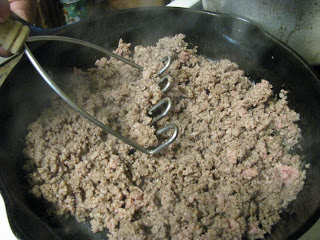
 Brown ground beef until done.