There are a mutlitude of ways to set up an indigo vat, my personal preference is for instant indigo ;-) That being said...
CAUTION: Wear Gloves, Dust Mask and/or Respirator, and protective eye wear, when Handling Instant Indigo it is caustic.
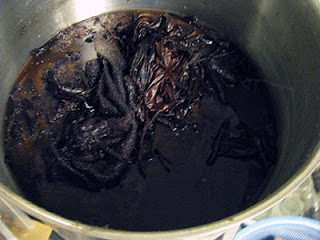
To use Instant Indigo, a naturally reduced indigo vat that has been flash frozen, add 1 Tablespoon of Instant Indigo to 4 gallons very hot tap water.
Use a plastic bucket, or a non-food use studio dedicated stainless steel or enamel pot for dyeing.
After placing instant indigo into the hot water do NOT stir as this will introduce air into the vat. Allow to sit for 15 minutes, this allows the crystals enough time to dissolve.
Then add your fabric or fiber to the vat allow to sit 5-15 minutes.
Using tongs, remove your fabric or fiber from the vat very quickly.
Do NOT allow liquid from yarn or fabric to drip back into the vat as this will introduce air into the vat.
Allow fabric to oxidize by hanging it up flat so it will receive air on all sides., your fabric may be greenish when you remove it from the vat. I allow my fabric to hang for 15 minutes or so others state that the fabric must oxidize for 24 hours before going back into the vat!
Rinse fabric thoroughly.
Dip your fabric, into the Instant Indigo vat again, repeating process as above until you acquire the color depth desired.
Indigo yields it’s best colors through multiple dips and appropriate oxidation.
Neutralize your fabric or fibers using vinegar. 1 cup white vinegar to 1 gallon water is sufficient.
Wash fabrics and fibers with a mild soap in the usual manner.


 On aqua terry bath towel, I plan to disassemble the roses and use them in my altered embroidery pieces.

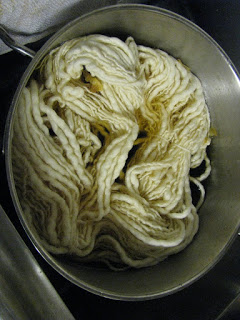

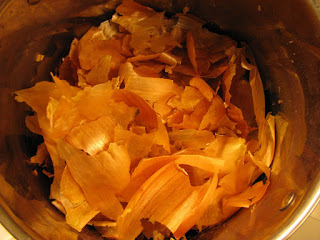 Fall is an excellent time to dye with onion skins as Onions are being harvested now!