The rest of my porcupine quills came today, about 5000 total. They need to be washed and dyed now, with natural dyes. I don't care for the package they came in, a padded envelope, it's going to be hard getting the quills out intact, and a lot of them appear to be broken already.
I'm almost done rearranging the studio, hubby and I spent the better part of last night picking out and then buying shelf brackets. The only way the new studio arrangement is going to work is to put those books way up on the wall out of my way, and so they don't block my window light. So tonight it's shelf time, I'll be moving most of the books today by myself, and then it's back to dyeing fabrics tomorrow.
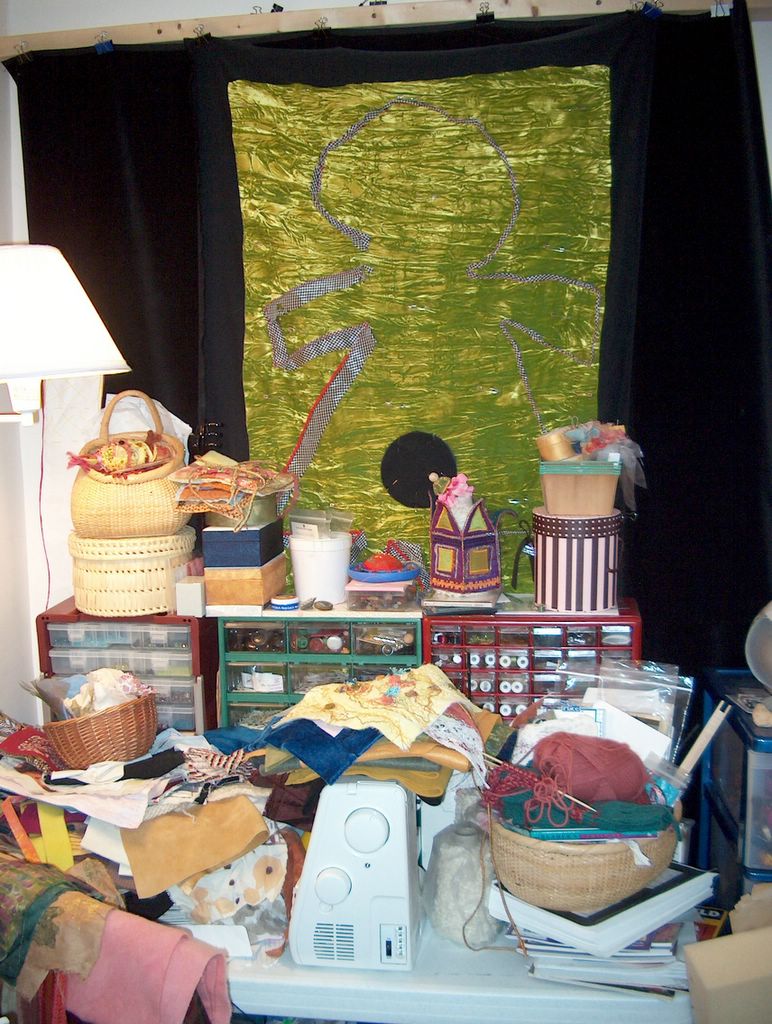
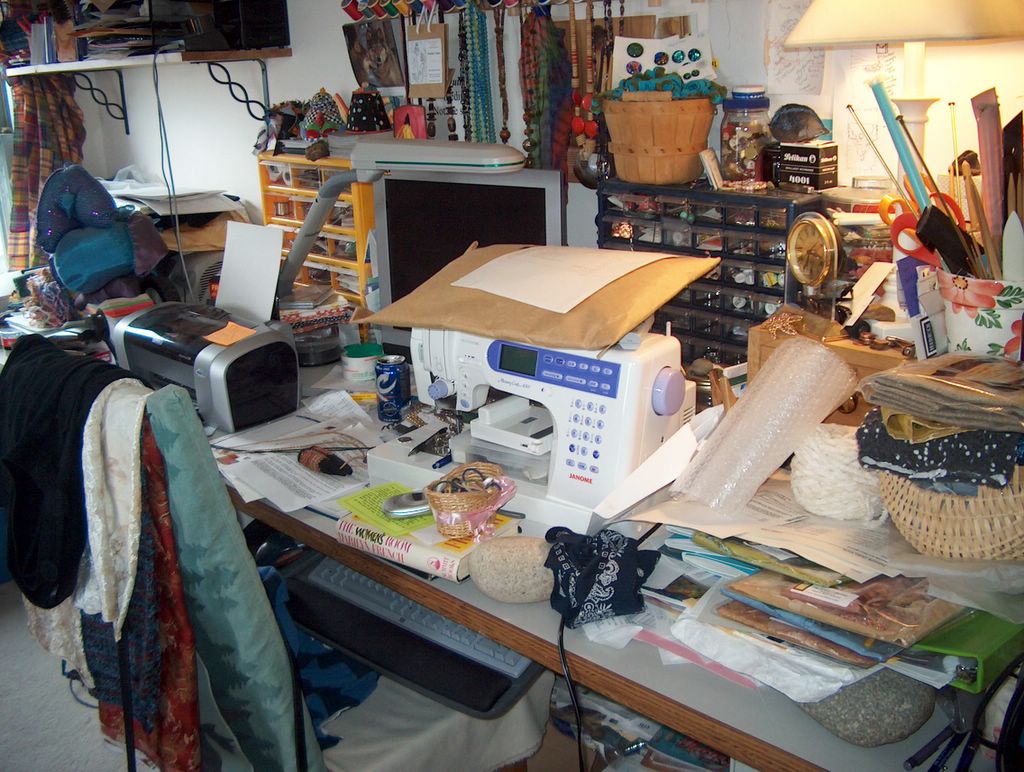
I decided to rearrange my studio now, the flow was horrible I couldn't get to anything, the design wall or my supplies. I know that once we get into the new building there would be no time to rearrange my home studio. The new configuration will be similar to the pics that are posted on the blog, only better. Why I changed it from that configuration to what I had, that didn't work, I'll never know.
The shelves with all of the fabric are now in the walk-in closet off of the studio (which once upon-a-time was a master bedroom). That west facing wall is now dedicated to storage units, books and more storage. The south wall, in the old pic with the white storage units, will have my new make shift sewing table up against it, with three more thread racks mounted on the wall above the table. It's amazing how much thread, needles and fabric you can accumulate without even trying. And I haven't even gotten into all of the wool that needs to be washed, carded and spun up, 75 pounds worth.
Once the studio is done, hopefully tonight, I'll post pics of it again, tomorrow when it's sunny. I have some work to do in the walk in closet, I wish there was a more effiecient, less expensive way of storing my fabrics, w/o throwing them onto a shelf. Half of my fabric stash sits in the attic awaiting my attention, it's been there about a month now safely out of harms way.
Need to go check on the corned beef, happy St. Paddy's Day! Now to just convince the dogs that natural sinew, for sewing, is not a doggie chew toy.