Fall

Autumn is Finally Here!


I love Autumn, I truly do. The lack of humidity, the cool crisp air, fresh apples, and pumpkins everywhere, and most importantly my allergies are starting to calm down.

The part I love the most,  however, is the colors of the leaves. Reds, golds, oranges, and brilliant yellows, and everywhere!

So it's no surprise that I created art cloth show casing these colors in my Colors of the Earth and Pretty Pigments online classes.

If you'd like to capture the beauty of nature's natural palette using natural earth pigments then join me in my newest class Colors of the Earth.  Class starts on October 17th!


Pumpkin Season has Arrived


Typically I buy quite a variety of pumpkins and squash each year, this year I decided to buy a bunch of fake pumpkins and squash.  I'm still looking for a really large fake pumpkin that looks "authentic".
Why would I buy fakes instead of real ones?

Simple.

I'm setting up a still life in my studio for painting, drawing, etc., and the real ones don't last into March, about the time when I'll be designing  collections for next Fall.

I have a ton of  photos for color and texture references (taken at a local pumpkin farm), but there's nothing as nice as working from a real 3D object.

And don't worry my designs won't look anything like these in the photos, they are just a starting point to work from.


Now to find a decent looking fake pomegranate and all will be well in the world of studio props.

Still Life Number 1 for Fall 2014


First still life for the Fall season, actually I really can't wait for the colorful leaves and the pumpkins!


Buckeye sketch attempt no. 1 (three minute sketch).

If your thinking you can't draw, don't worry about it I can't draw either, lol, that said well I used to be able to draw but without practice the brain and muscles tend to forget.


So I will spend the next couple of days doing quick sketches and color studies of these buckeyes and the rest of the nommies in this mini still life.  I will spend time studying and drawing their curves, etc., another words I will get to know them.


I started with a quick sketch, and then photographed the different sides of this particular buckeye.


Another view, here you can see how the color and the pattern, yes there's a burl like pattern on this particular buckeye, vary.


The spot that on the shell that makes a buckeye recognizable as a buckeye.

Fall Colours


September is drawing to an end, so thought I would post some fall colours!


Rust on hand dyed cotton fabric.
 
I do believe I dyed this with MX dyes back around 1994,  before I became allergic.  Anyway, I love the colors of this piece, as the leaves start to change I will take some photos, do some color studies and use some of this fabric as it's wanting to be stitched and oh so badly.

Part One - Black Birds in Trees Harvest


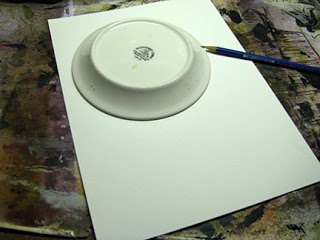
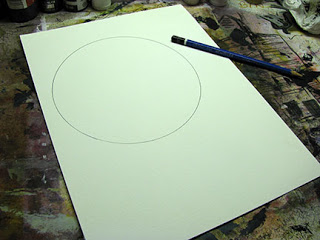
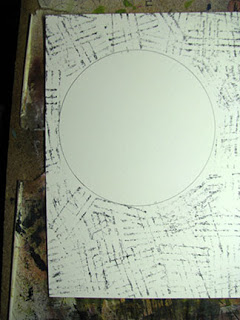
With a round object of your choice (I used a 6" plate) and a soft pencil (HB) draw a circle on your 9x12 sheet of watercolor paper.


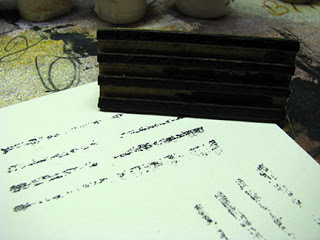
Using a texture or geometric stamp, and waterproof ink, add some texture around the circular area.
 
 
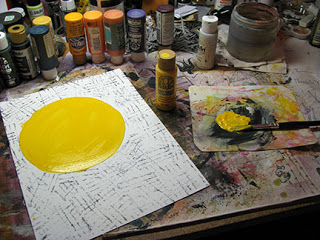
Now fill the circle with some yellow paint, I used Folk Arts Medium Yellow.


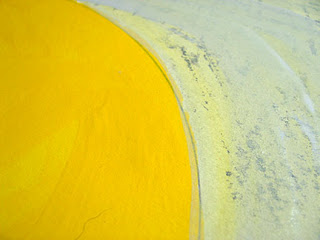
Using a thin layer of grey paint the background.


The thin layer of paint will allow the background texture to show through; allow paint to dry completely.


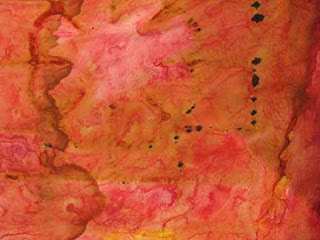
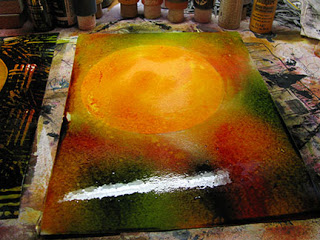
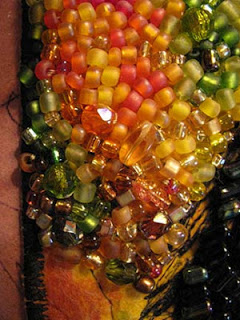
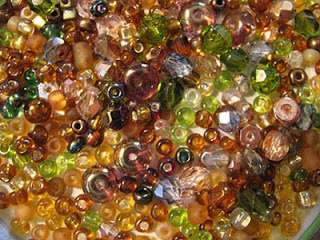
Now apply alcohol inks and in random manner.  I spritzed the moon area with butterscotch, lettuce, and red pepper.


Not to worry the inks will dry way lighter than what you see in the image here! 


About half dry now, it will become lighter still!


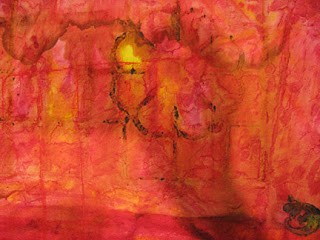
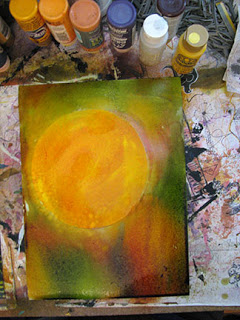
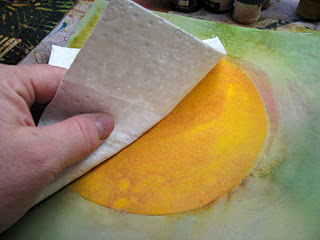
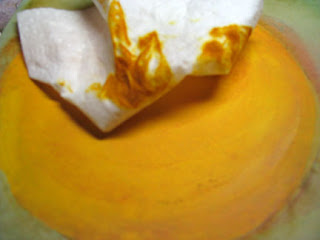
Once the alcohol inks are dried take a baby wipe and in a swirling motion remove most of the ink from the moon shape on the paper.


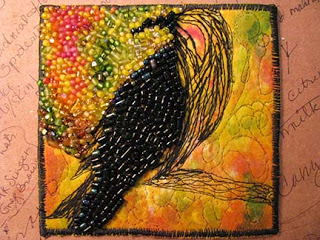
This gives you a realistic moon shape and fall harvest coloring.  Not all of the ink will wipe away and this is fine you don't want it all to wipe away.


If you need to amp up the color for the background now is the time to do so.  Here I recharged the alcohol ink using some additional inks and a water bottle.  Spritzing with water will cause speckling, etc., to occur giving you more texture.


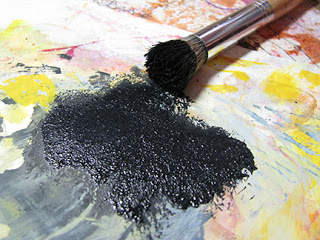
Place stencil of choice onto background, and using dry stencil brush techniques push the paint through the stencil onto the paper.  Here I'm using my stencil Black Birds in Tree which is available through StencilGirl Products!


Too much paint will cause the paint to go under the stencil and well creates a HUGE mess, but this piece can and will be redeemed!  Folk Art Paint - Licorice


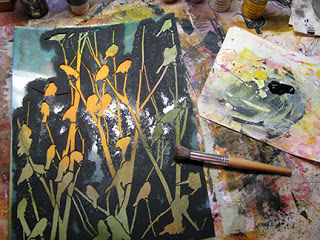
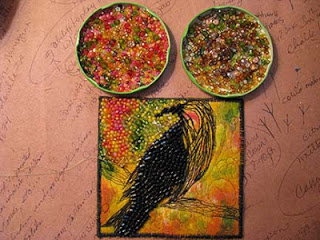
And because sometimes I am a bit of a perfectionist, yes me, I went and created a second piece the steps of which are above, just to see if I could get the stencil portion correct!


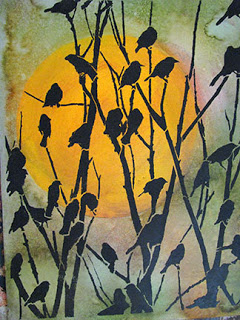
And I managed to keep the paint in the lines this time!  Ok, the paint should be dry now I'm off to add more layers to the first version of this piece to see where it takes me, oh and to cook dinner!

Stay tuned for Part Two!

Beading Resumes


Was starting to make mistakes so decided to take the rest of the day off from writing and started beading instead.  Am working on the branch portion now, trying to integrate it as part of the whole piece.


More bead soups, this time greens, browns, and brownish purples so as to look like an actual branch in my crabapple tree.


Ok I know I've shown this last one before, multiple times actually, but I sooooooo love this color combination!  The only colors that make me even more happy are sage greens, purple sages, and golden greens.  It's hard to explain... except to tell you to go hang out on the open prairie in the fall.